How to Replace the LCD Display
Click HERE to purchase the new LCD display.
ATTENTION:If you cannot install the part correctly, and follow these steps safely, we suggest you find a certified bike mechanic for assembly, maintenance and repair.
Tools&Parts: the new LCD display and display remote, 2.5mm Allen wrench
Step:
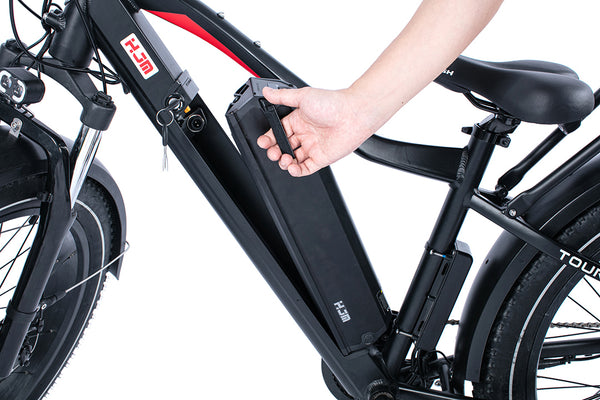
1. Remove the battery first to prevent the ebike turn on during replacement.

2.Remove the hook and loop fastener.

3. Unplug the right side (from the direction of the ebike) of the display connector at the bottom of the display, you can see that one side is green.

Attention: Don’t unplug the connector of the display remote and display on the left side.
4. Loosen the display and display remote bolts with 2.5mm Allen wrench, remove the display and then put them aside.


5. Install the new display, adjust the display angle to your most comfortable position, then tighten the display bolts with 2.5mm Allen wrench.

6. Install the new display remote, adjust the display remote angle to your most comfortable position, then tighten the display remote bolt with 2.5mm Allen wrench.

7. Locate the side of the red display connector, carefully press the wiring harness and display interface directly together without twisting.

8. Install the display USB.

9. Pack up the wiring harness.

10. Install the battery.

Inspection:
1. Check that the display and remote are installed on the handlebar tightly.
2. Press the button “i” to turn on the e-bike system, check that the function of the display.


